Automation for Better Welding
Technology enhancements optimize and advance automated welding performance.

The skilled labor shortage is not a new concern within the welding industry. While efforts are being made to attract new talent, those who join still need ample time to learn and truly refine their skills. Because of shortages and the lengthy on-ramps for newer welders, some operations may still be behind in meeting the demands of their business and struggling with weld quality and consistency issues…
Read the full article here.
Want to optimize your operations?
Check out the Atlas Data Sheet to see how it can improve uptime and minimize training efforts.
To learn more about upgrading your automation efforts visit the Atlas Robotic ThruArm MIG Torch Product Page here.
About the Author
Brad Whipple
Brad Whipple is a senior engineer for Tregaskiss. Email brad.whipple@bernardtregaskiss.com
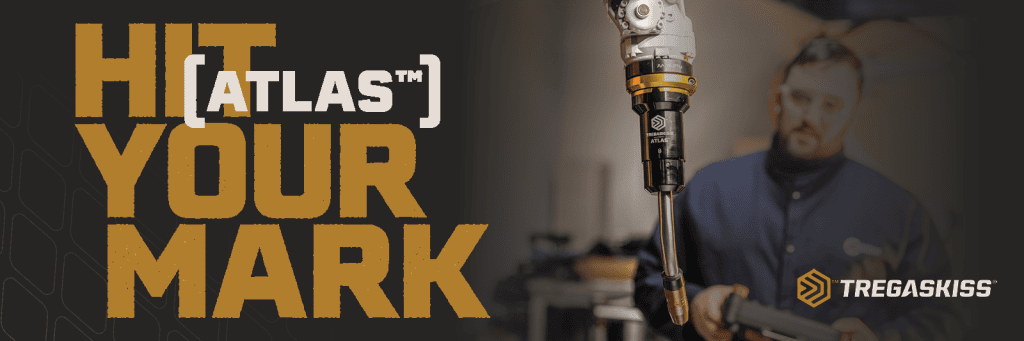
Tregaskiss Redefines Performance With New Atlas™ Robotic ThruArm Air-Cooled MIG Torch
Tregaskiss Redefines Performance With New Atlas™ Robotic ThruArm Air-Cooled MIG Torch
Engineered for precision, built for uptime and designed to hit your mark
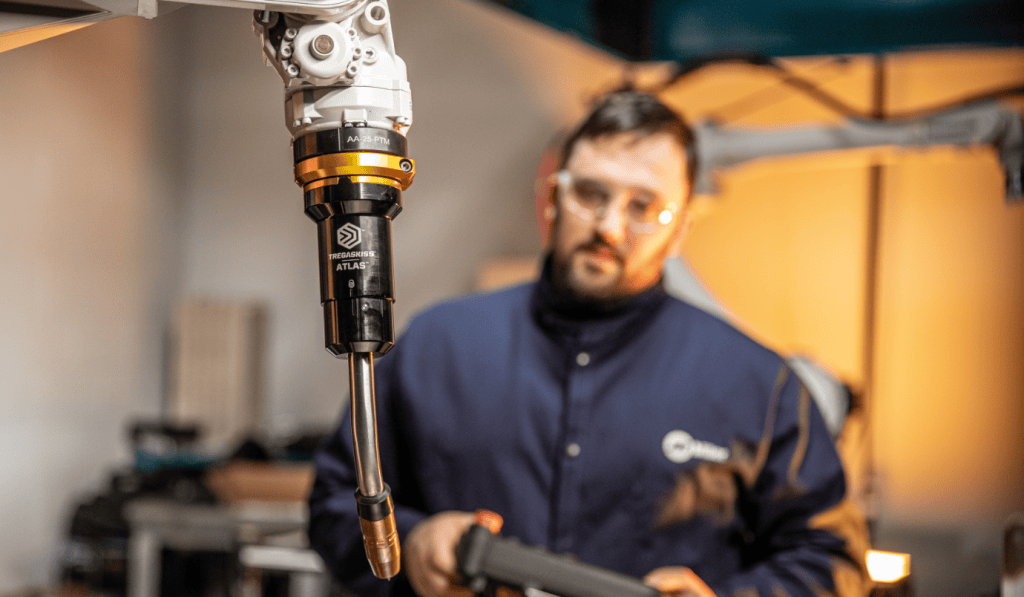
BEECHER, Ill./WINDSOR, Ontario (September 4, 2025) — Tregaskiss, a leading innovator in robotic welding solutions, introduces the Atlas™ robotic MIG welding torch — a next-generation, air-cooled ThruArm GMAW torch engineered to deliver unmatched efficiency, repeatable precision and simplified maintenance. Constructed to endure the demands of industrial environments, Atlas helps operators reduce downtime by up to 87% while ensuring consistent, high-quality welds.
Atlas raises the bar in robotic MIG welding and delivers a breakthrough in uptime and weld quality. Its robust construction and streamlined cable routing minimize unplanned downtime and maintenance, while producing high-quality welds across demanding applications.
“We took over three decades of experience and know-how in robotic MIG welding and unleashed our engineers to develop this revolutionary and innovative robotic A/C thru-arm torch,” said Andrew Marchand, director of engineering. “As a result, Atlas sets a new standard in the industry for installation time, TCP repeatability and ease of maintenance.”
Ideal for operations focused on automotive, heavy equipment and general manufacturing, Atlas sets a new standard with its toughness and accuracy. Key features and benefits include:
- Consistent tool center point (TCP): The keyed stainless steel neck construction provides superior rigidity, long-lasting positional features and increased neck-to-neck repeatability. Additionally, the isolated, separate mechanical and electrical functions, combined with a direct neck-to-cable connection, reduce performance issues.
- Maximized uptime: Tool-less cable change, predictive maintenance indicators and quick-change components reduce unplanned downtime and total service time.
- Designed for durability: Built tough to withstand harsh industrial environments, Atlas protects key components from debris and spatter and extends torch life.
- Streamlined maintenance: Intuitive features like captured fasteners, inspection windows and install confirmation indicators make servicing fast and foolproof.
- Engineered efficiency: The modular, optimized design drives better performance and simplifies training and maintenance.
The Atlas torch will officially debut at FABTECH 2025 this September, where attendees can experience its performance firsthand. Visit booth B20027 from September 8-11 to learn more about Atlas and how it can transform your robotic welding operations.
If you can’t attend the show, visit https://www.bernardtregaskiss.com/product/atlas/ for additional details.
About Tregaskiss
Tregaskiss is a trusted manufacturer of high-quality robotic MIG welding torches and consumables, focused on delivering performance, reliability, and efficiency in automated welding applications. Based in Windsor, Ontario, Tregaskiss designs innovative solutions that offer durability for industrial applications, support system uptime, and reduce maintenance needs in demanding environments. Tregaskiss is a proud brand of Illinois Tool Works Inc. (NYSE: ITW). For more information, visit BernardTregaskiss.com, call 1-855-MIGWELD (1-855-644-9353), or email CS@itwmig.com.
Contact:
Lauren Smith, Hiebing for Bernard/Tregaskiss
phone: +1 6082684408
Contact: Lauren Smith, Hiebing for Bernard/Tregaskiss phone: +1 6082684408 lsmith@hiebing.com
The Hidden Cost of Cutting Corners in Robotic Welding Equipment
The Hidden Cost of Cutting Corners in Robotic Welding Equipment
The global robotic welding market is heating up. This growth is being fueled by a critical mix of factors: a shortage of skilled welders, the rising demand for manufacturing efficiency, and an industry-wide push toward automation across sectors like automotive, aerospace, construction equipment, and general fabrication.
At the center of many robotic welding cells is MIG welding, prized for its speed, adaptability, and suitability for automation. But what often gets overlooked in the race toward automation is this: your system is only as good as the equipment you put into it.
And cutting corners on that equipment? It comes with a price.
Downtime Is Expensive and Often Avoidable
Cheap or underperforming components can quickly turn a high-output robotic welding cell into a bottleneck. From unreliable torches to inconsistent consumables, even minor issues can lead to misaligned welds, excessive spatter, or system stoppages that eat into productivity. Worse yet, these problems are rarely one-offs. Poor-quality components often result in frequent rework, more operator intervention, and additional maintenance all of which erode your ROI over time.
Repeatability and Reliability Shouldn’t Be Optional
Robotic systems rely on repeatable precision. Every weld pass, programmed path and every contact point needs to perform the same, shift after shift. That’s nearly impossible to achieve if your equipment isn’t built to hold tolerances or endure tough environments.
Newer torch designs, like the Tregaskiss® ATLAS™ Robotic ThruArm MIG Torch, have been engineered to deliver consistent, repeatable performance in even the most demanding applications. While not the only solution, products like this are helping manufacturers cut down on downtime and reduce the need for frequent reprogramming or adjustments.
Skilled Labor Is Scarce – Simplicity Matters
With fewer experienced welders and technicians entering the workforce, maintenance routines need to be simplified and, ideally, predictable. Equipment that requires constant tweaking or is difficult to service adds stress and inefficiency to an already stretched workforce.
Modern robotic welding gear is starting to address this. Atlas™ addresses the pain behind predictive maintenance and visual inspection features to take the guesswork out of service intervals. Compatibility with the Tregaskiss Torch Maintenance Module, for instance, allows teams time for maintenance before failure occurs – not after. That kind of visibility leads to fewer unexpected stoppages, fewer errors during maintenance, and more time spent where it counts: welding parts.
The Real Cost Isn’t Just Dollars – It’s Lost Opportunity
In a fast-moving manufacturing environment, the true cost of cutting corners isn’t just found on a balance sheet. It’s in jobs that don’t ship on time. The customers who look elsewhere. The employees are frustrated by constant issues.
Choosing the right robotic welding equipment from the start, even if it comes with a slightly higher price tag is an investment in long-term stability, performance, and productivity. It’s about building a system that works with your team, not against it.

Quality Pays for Itself
As robotic welding continues to expand across industries, the companies that will lead the charge are those who recognize that good equipment isn’t a luxury, it’s a necessity. Whether it’s a rugged torch that stands up to tough environments, or consumables designed for long life and precision, choosing quality upfront prevents pain later.
And in today’s climate of labor shortages, rising expectations, and constant pressure to do more with less, that choice might just be the difference between staying competitive, or falling behind.
Learn more about how Atlas can help save your operation time and money.
GET STARTED.
Product Guide: Changing the Neck on Your Tregaskiss Atlas™ Torch
Product Guide: Changing the Neck on Your Tregaskiss Atlas™ Torch

In this video, we walk you through the simple process of changing the neck on your Atlas™ torch. Whether you’re upgrading, replacing a worn-out part this guide will help you do it safely and efficiently.
Steps Covered in This Video:
Removing the neck body cover
Loosening the SHCS bolts with a 4mm Allen wrench
Cutting the weld wire and removing the old neck
Aligning and installing the new neck
Torquing the SHCS to 50 in-lbs
Locking the neck cover into place
Pro Tip: If the neck cover doesn’t lock into place, double-check that the SHCS are fully torqued.
Product Guide: Reinstalling a LSR+ Unicable on Your Tregaskiss Atlas™ Torch
Product Guide: Reinstalling a LSR+ Unicable on Your Tregaskiss Atlas™ Torch

In this video, we walk you through the full process of Reinstalling a new LSR+ Unicable on your Tregaskiss Atlas™ torch. Whether you’re setting up a new system or replacing an old cable, this guide will help you get the job done right.
Steps Covered in This Video:
Removing the consumables and liner Taking off the connector housing cover
Opening the cam levers Removing the old cable from the robot wrist Installing the new LSR+ Unicable and power pin Inserting the liner (QUICK LOAD or rear load)
Securing the cable and closing the cam levers
Reinstalling the connector housing cover and consumables
Tip: Position the robot wrist downward at a 45° angle for easier installation.
Product Guide: Removing the Cable on Your Tregaskiss Atlas™ Torch
Product Guide: Removing the Cable on Your Tregaskiss Atlas™ Torch

In this video, we walk you through the complete process of changing the LSR+ Unicable on your Tregaskiss Atlas™ torch. Whether you’re upgrading, replacing a worn cable, or performing routine maintenance, this guide will help you do it safely and efficiently.
Steps Covered in This Video:
Removing the consumables and liner Taking off the connector housing cover
Opening the cam levers Removing the old cable from the robot wrist Installing the new LSR+ Unicable and power pin Inserting the liner (QUICK LOAD or rear load)
Securing the cable and closing the cam levers
Reinstalling the connector housing cover and consumables
Tip: Position the robot wrist downward at a 45° angle for easier installation.
Product Guide: Installing the Tregaskiss Atlas™ Torch
Product Guide: Installing the Tregaskiss Atlas™ Torch

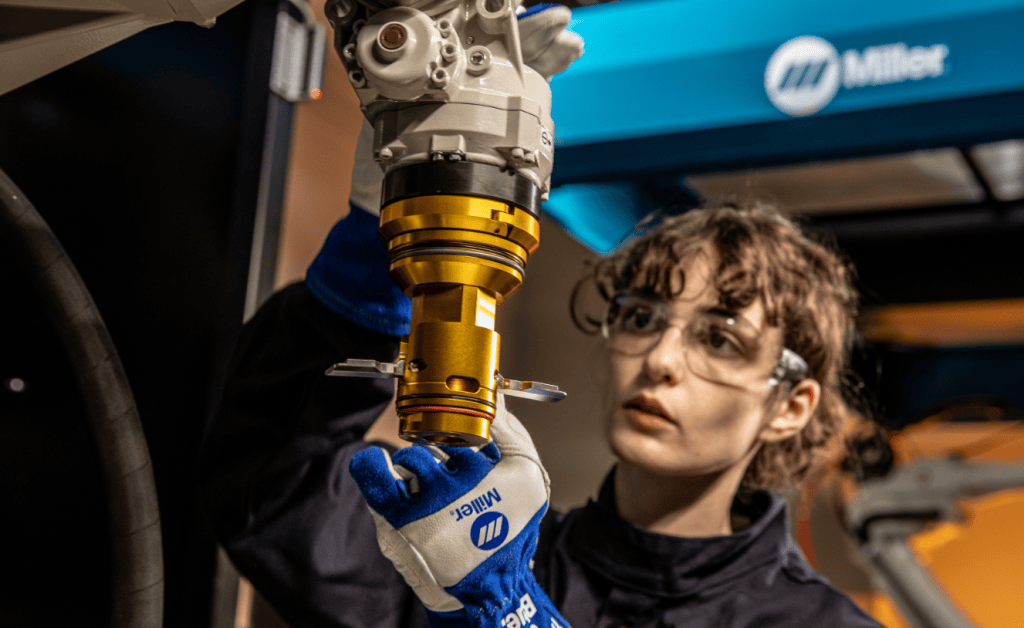
In this video, we guide you through the complete installation process for the Tregaskiss Atlas™ torch. From mounting the robot adapter to securing the V-Band Clamp, this step-by-step tutorial ensures a proper and secure setup for your welding system.
Steps Covered in This Video:
Positioning the robot wrist and top axis Installing the robot adapter and insulating disc
Torquing the SHCS bolts to 45 in-lbs
Feeding the fully configured gun assembly through the robot wrist Installing the power pin into the wire feeder
Aligning and securing the connector housing with the V-Band Clamp (torque to 75 in-lbs)
Managing the M12 cordset if not using the Torch Maintenance Module
Tip: For proper alignment, position the robot wrist and top axis 180° parallel before starting the installation.
Visit bernardtregaskiss.com/product/atlas to learn more.